Creating a Multisignature Account and setting up the Custodians
In situations where multiple approvals are required for a transaction to be made from a wallet, a feature called Multisignature (often shortened to "Multisig") can be implemented. This allows for multiple individuals to sign off on a transaction before it is executed, providing an added level of security and accountability.
Below you will find a step-by-step guide for creation of a Multisignature account.
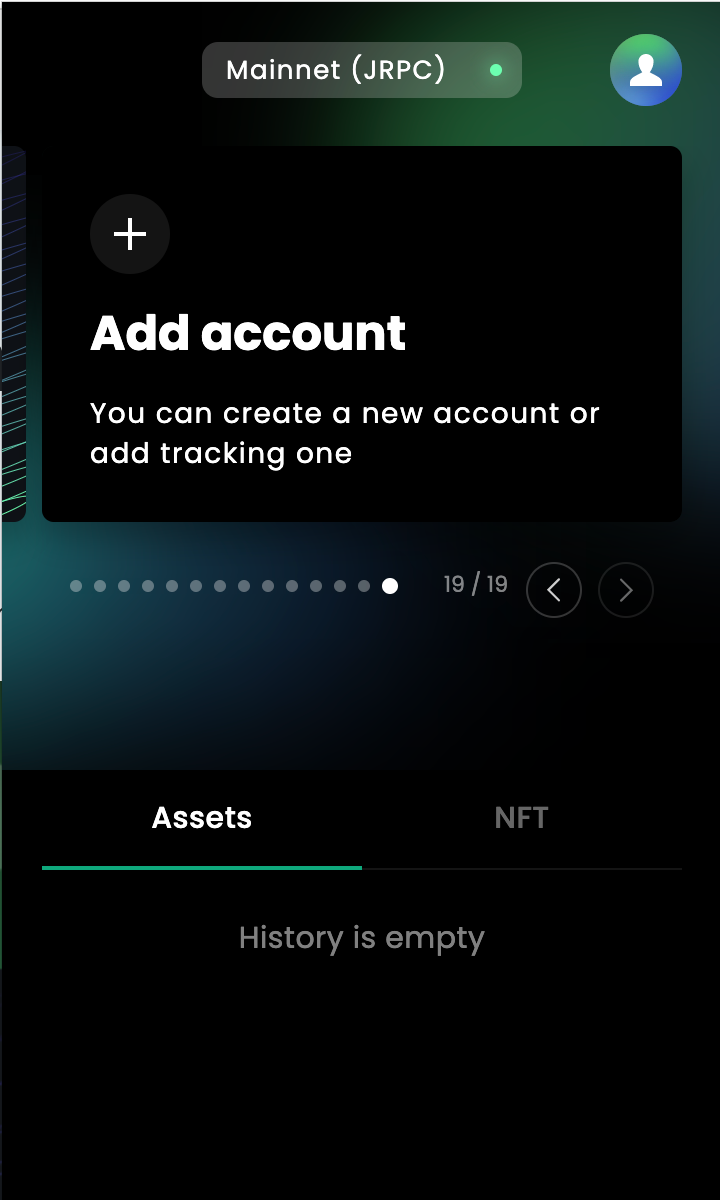
- Launch the Venom Wallet extension/application.
- On the main screen, navigate to the section where your existing accounts are located, and scroll until you reach the option labeled "Add Account".
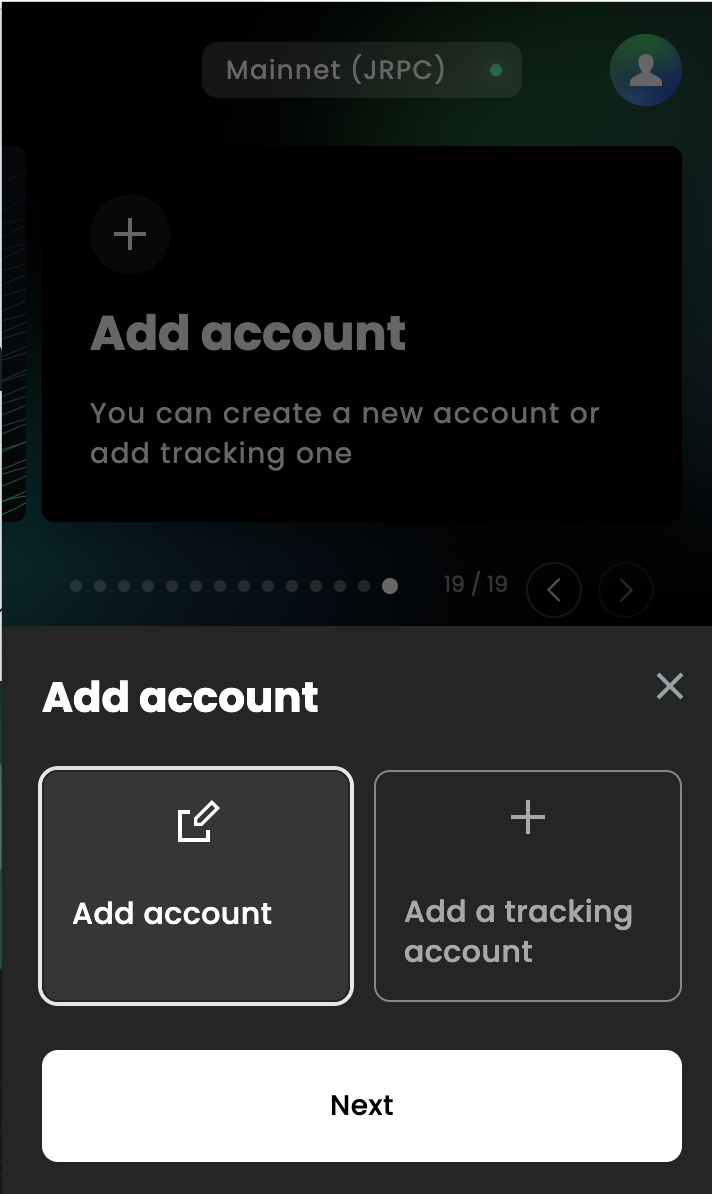
- When you select the "Add Account" option, a new window will appear with two options: "Add Account" and "Add a tracking account". Select "Add Account" and then click on the "Next" button.
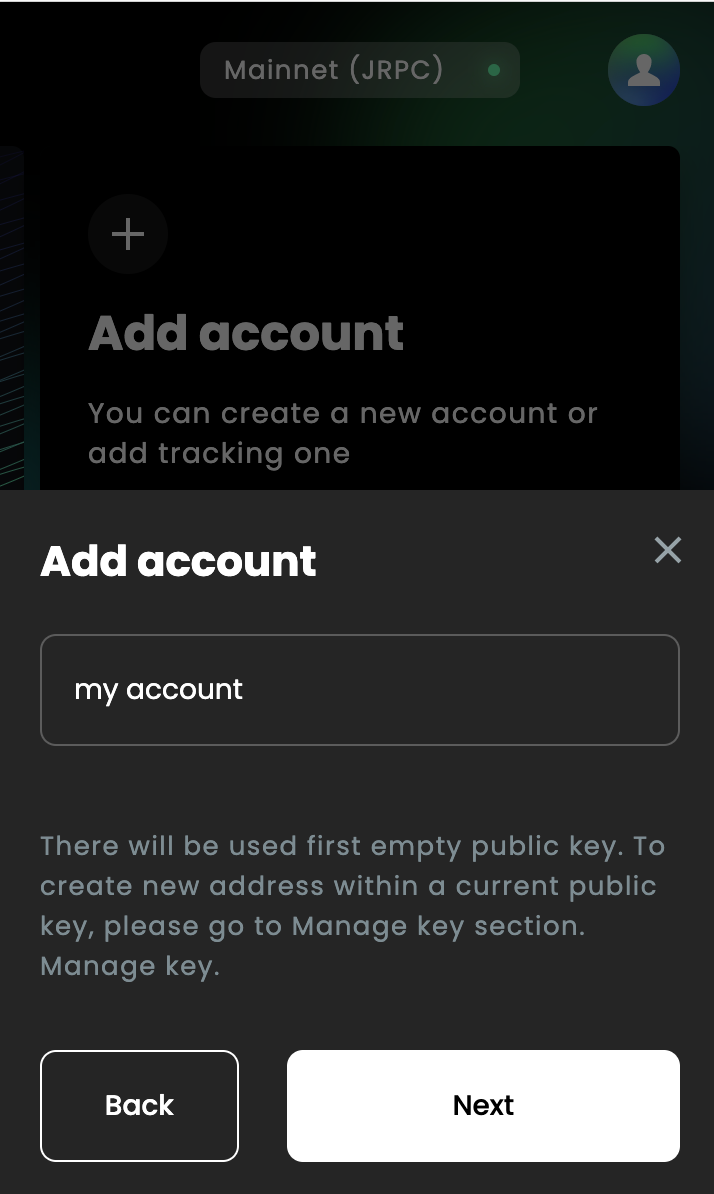
- To proceed you should enter the name of the Account you are going to create.
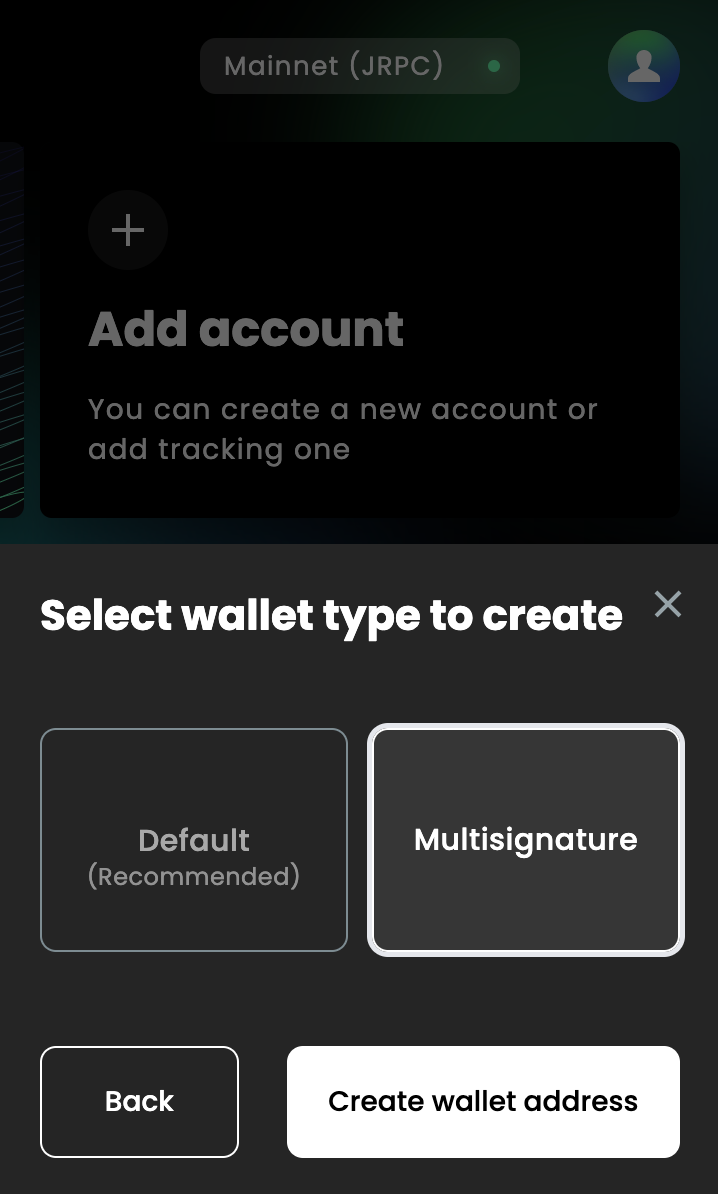
- On the following screen, you will be prompted to select a wallet type. You have the option to choose between "Default" and "Multisignature". Select "Multisignature" and then click on the "Create wallet address" button to proceed.
- Once a new address has been created successfully, the main screen will automatically redirect and focus on the newly created address.
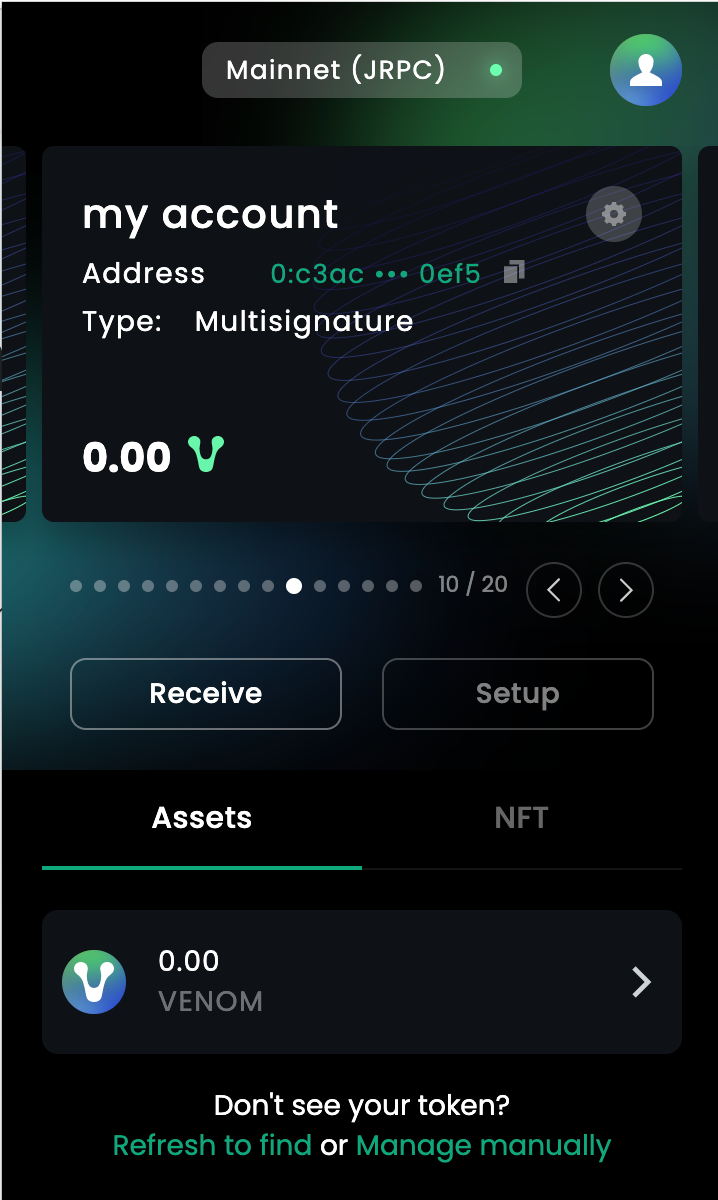
- To start using the multisignature account, you will need to add custodians to the account.
info
Setting up Custodians requires you to have VENOM tokens on the wallet.
- We will then proceed to set up our default account as one of the custodians.
- (Custodians are the addresses that will be required to approve transactions on our multisignature account.)
- Click on the "Copy" button to duplicate the address of the newly created multisignature account.
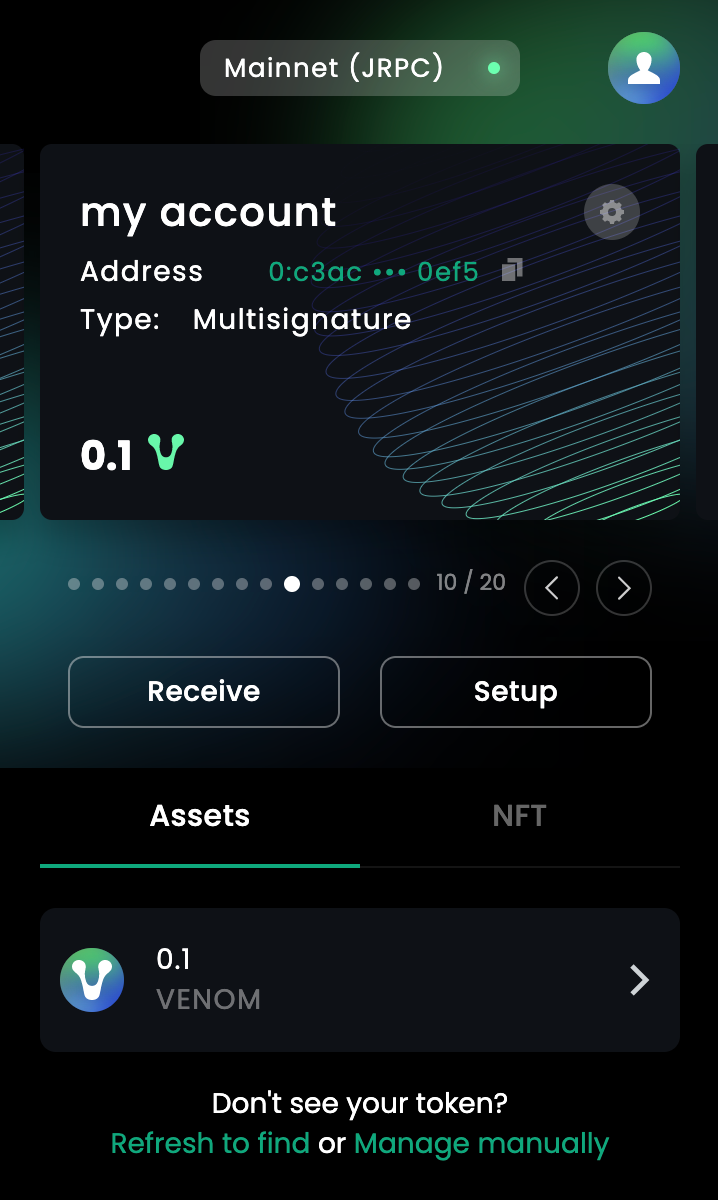
- Send at least 0.1 VENOM tokens to the Multisignature account. You can follow this instruction on how to Send VENOM Tokens By Clicking Here
- Once the multisignature account has been funded with VENOM tokens and the "Setup" button becomes available, navigate back to the new multisignature account. Click on the "Setup" button.
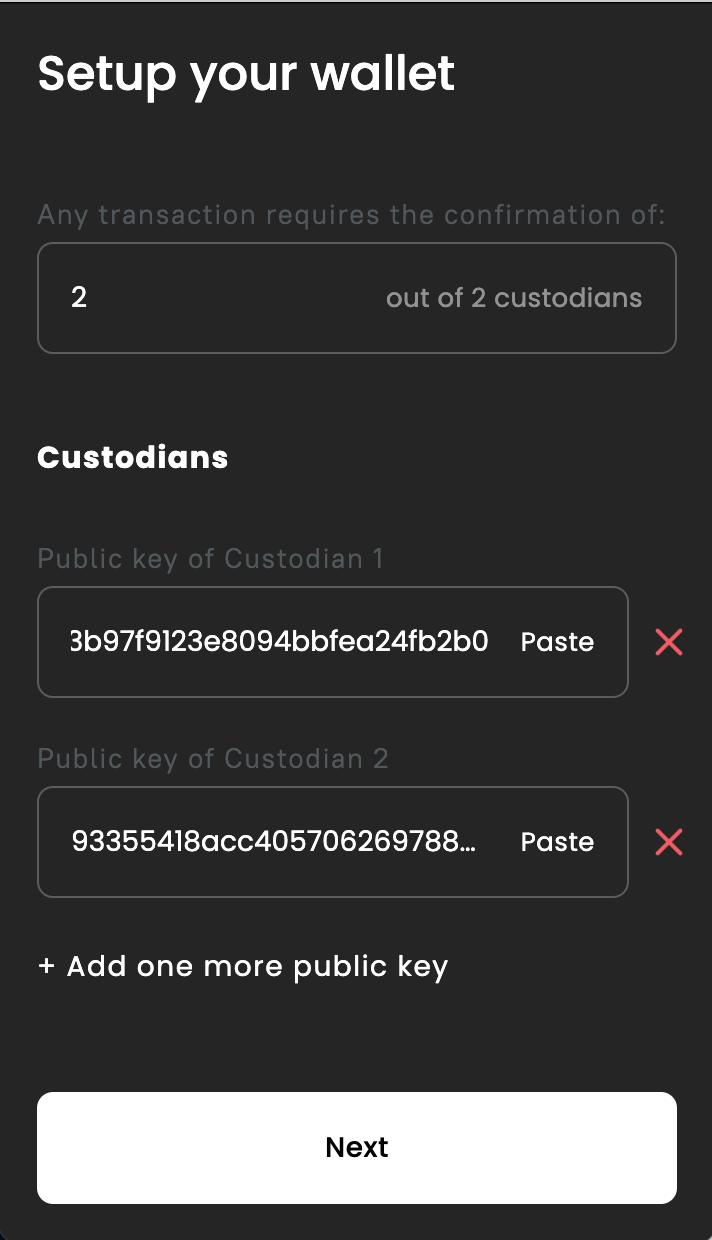
- You will be prompted to set up your multisignature account. In this step, you will need to specify the number of custodians and input their public keys.
info
It is not necessary for every custodian to sign off on a transaction as the confirmation settings can be customized. For example, a transaction can be executed if only 2 out of 3 custodians have signed it.
- Each owner of the addresses which will serve as custodians for the multisignature account, after transferring a minimum of 0.1 VENOM to the multisignature account, should copy their public key from the Preferences window and send it to the manager of the multisignature account, who will then enter it in the setup window.
- The manager of the multisignature account has entered the number of custodians, their public keys, and the public address of each custodian.
- On the next screen, carefully review the entered data. If everything is correct, click the "Setup" button to complete the setup of the custodians for the multisignature account.

- You will be prompted to enter your password. Once you have entered it and confirmed, you will receive a notification that the setup has been completed successfully. Click "OK" to close the window.
- To view the list of added custodians, click on the gear button and select the "Custodians" option.