The Ledger
Setting up Venom Wallet accounts with a Ledger device.
info
In order to start using the Venom Wallet with a Ledger device, you should have the Venom app installed. You can refer to these instructions on how to install Venom.
Here is a step-by-step guide to setting up a Venom Wallet account using a Ledger device:
- Before proceeding, ensure that your Ledger device has the Venom app installed. You can find the instructions on Installing Venom via Ledger Live Here.
- Do not forget to have Ledger Live software closed at all times while performing the following steps.
If you have recently installed Venom Wallet and it does not have any connected seed phrases:
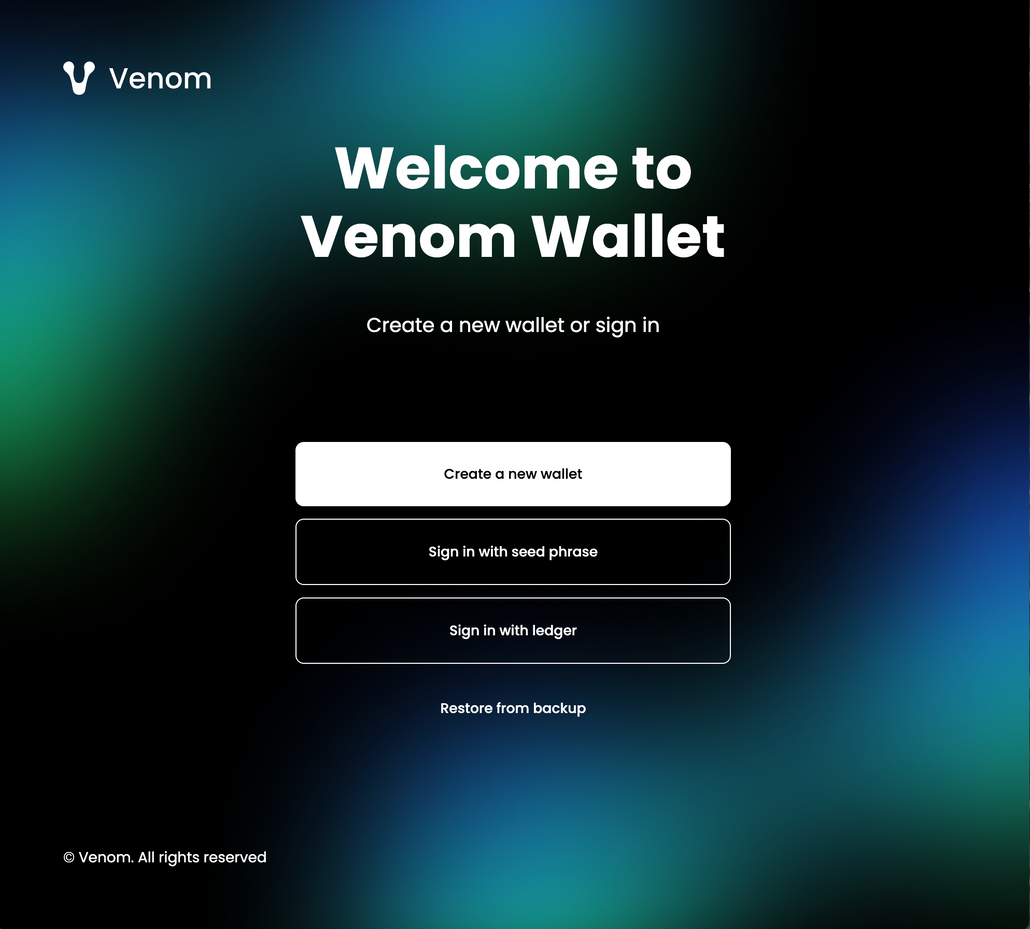
- Launch Venom Wallet.
- Choose Sign in with Ledger.
- Follow the instructions starting with Step 6 in the following guide.
If you have launched Venom Wallet before and have connected seed phrases:
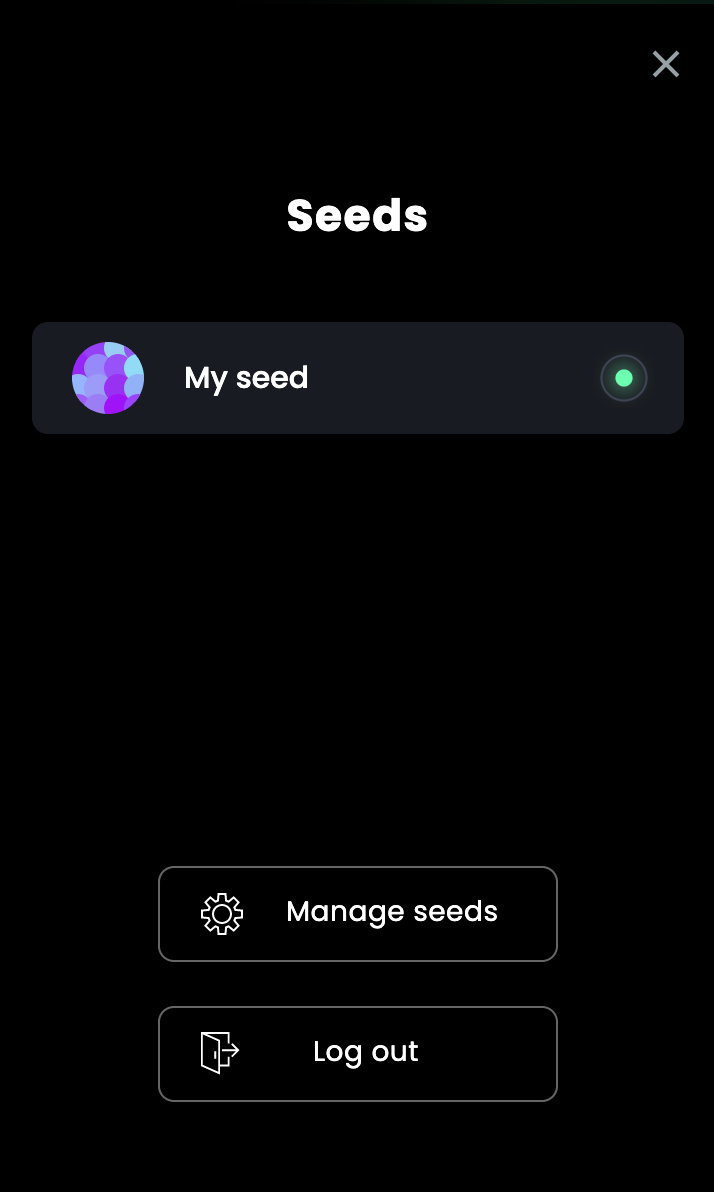
- Open Venom Wallet extension.
- Access the Profile Icon.
- Press Manage Seed button.
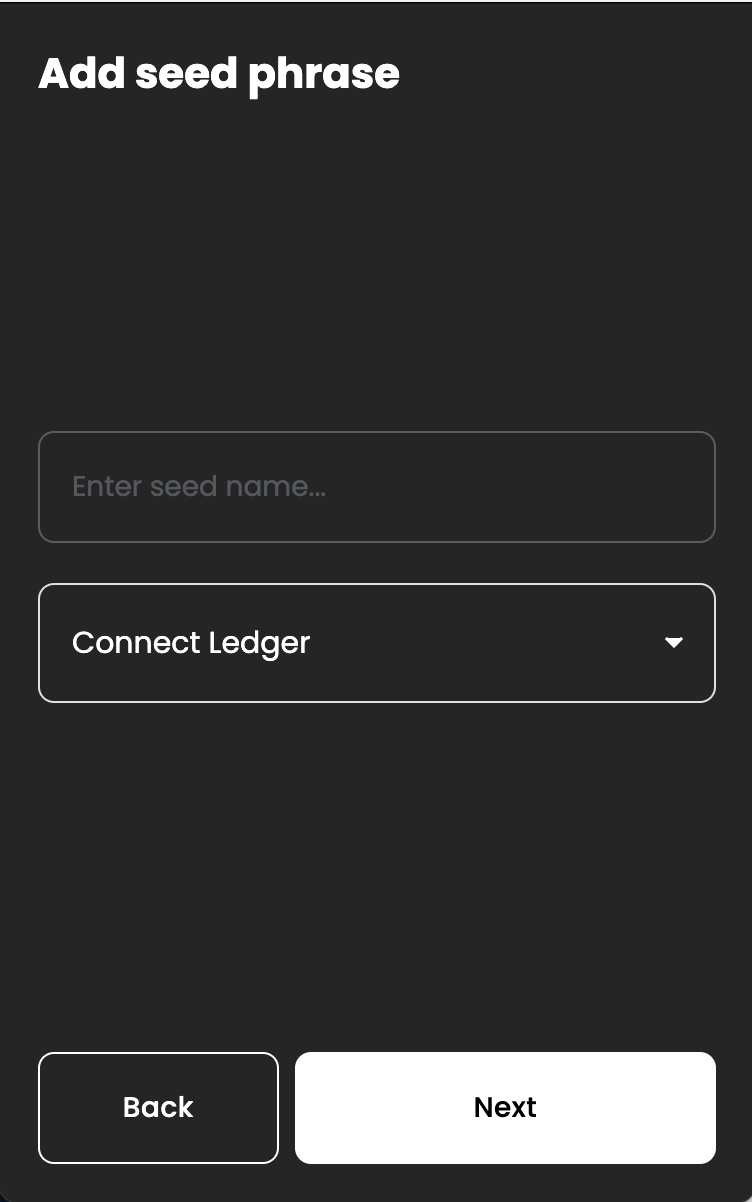
- In the Manage Seed Phrases window click “Add New”.
- In the Add Seed Phrase window, from the dropdown list, select "Connect Ledger" and press Next.
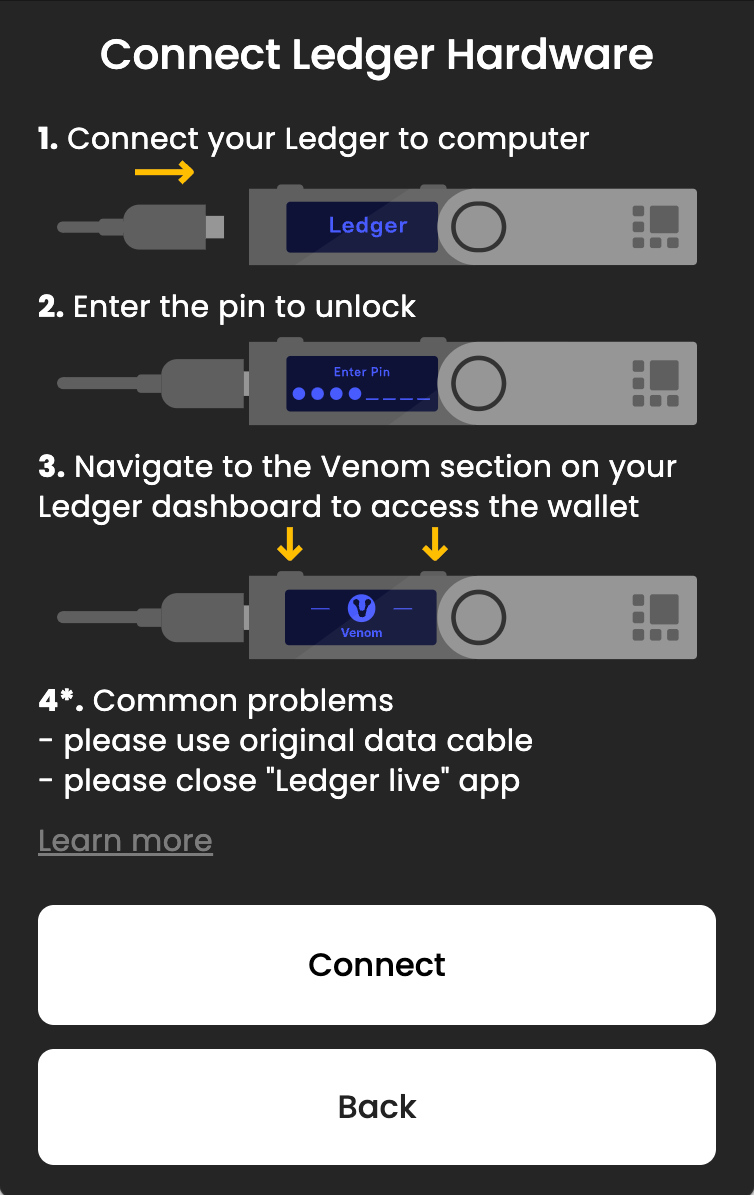
- Connect your Ledger device to your computer.
- Enter the pin code to unlock it.
- Navigate to the Venom section on your Ledger dashboard to access the wallet.
- Click Connect.
- You will be prompted to approve the connection to a Ledger device in a pop-out window.
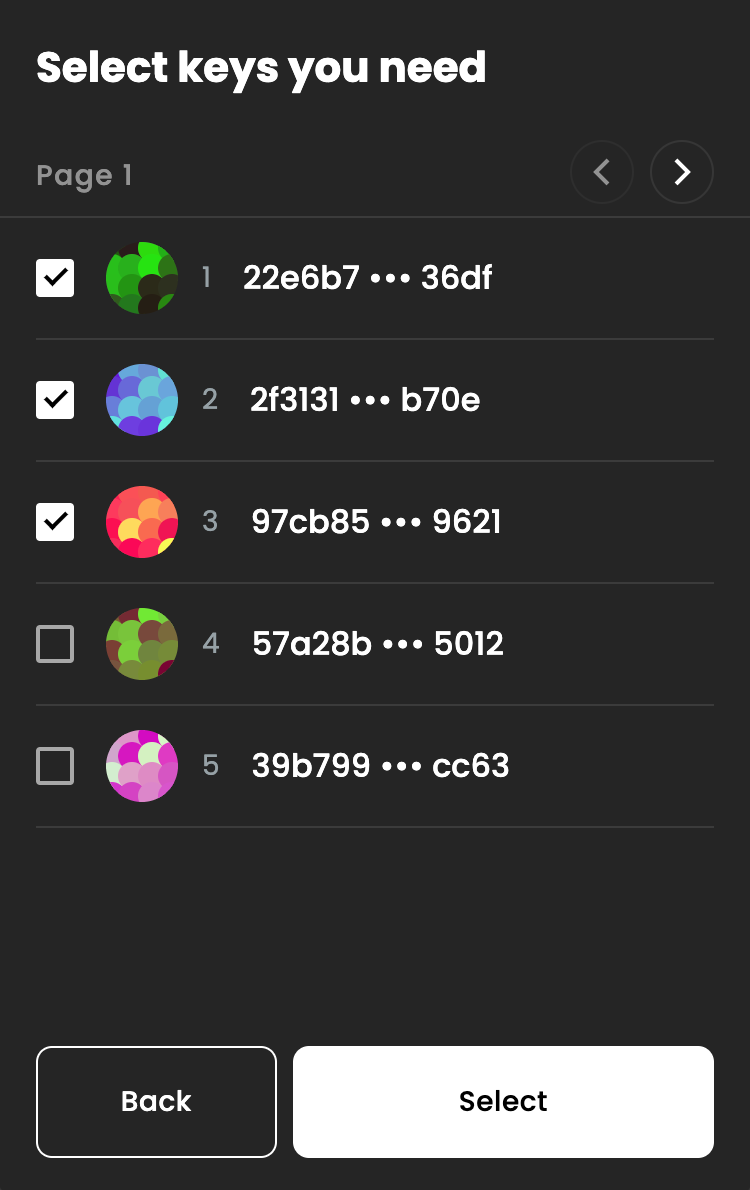
- Select as many keys as you need. By default only the first key is selected, but you may add more.
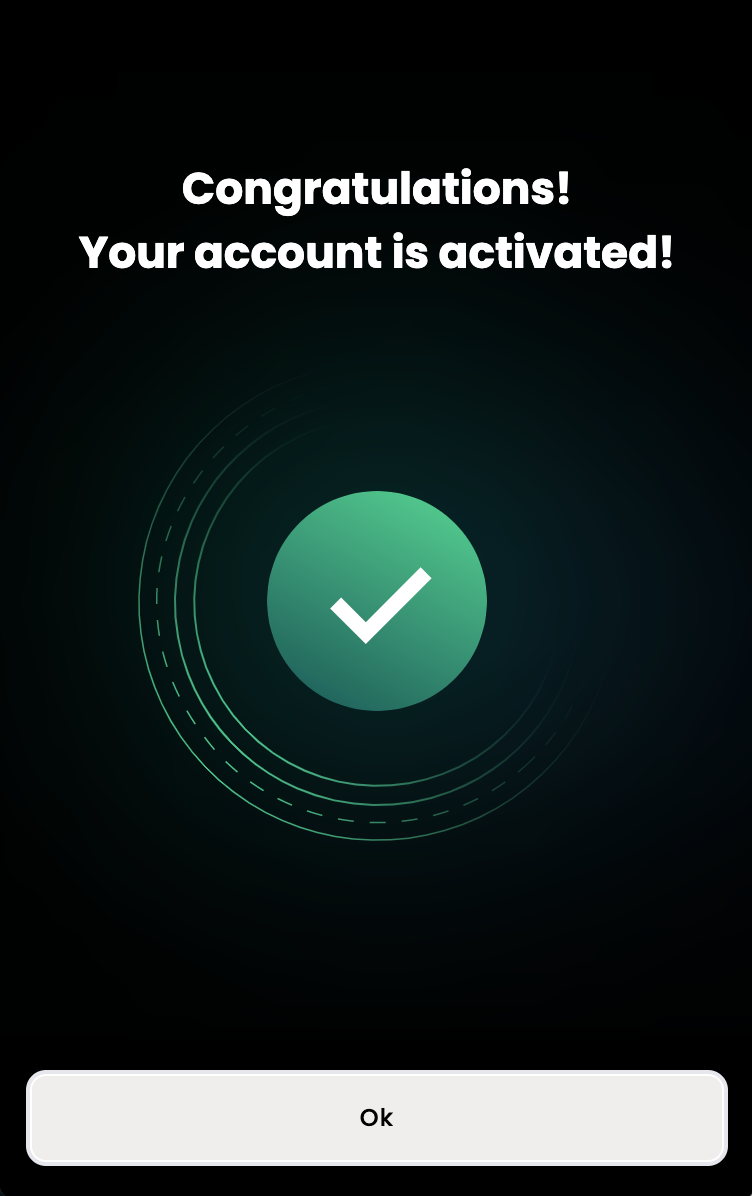
- You will receive a message “Congratulations! Your account is activated!”
- Click OK to close the window.
info
All accounts which were selected in the Ledger will be named Ledger 1, Ledger 2 and so on by default.
The Ledger device has been connected.